


Step 1
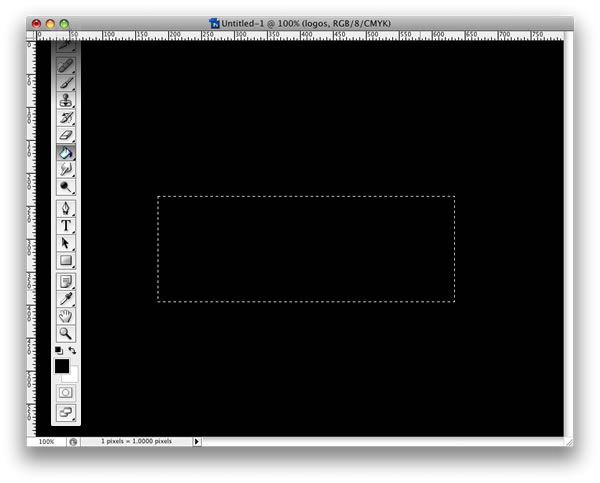
Create a new document and fill the background with black. After that create a new layer. With the Rectangular Marquee Tool (M) create a rectangular selection like the image below. After that fill the selection with black again.
Step 2
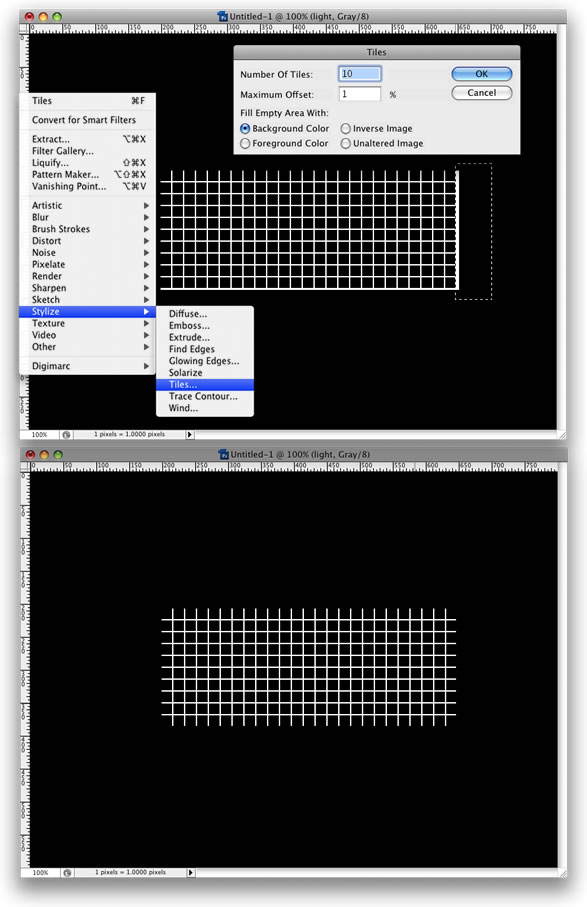
Go to Filter>Stylize>Tiles. Use 10 for the Number of Tiles, and 1% for the Maximum Offset.
Step 3
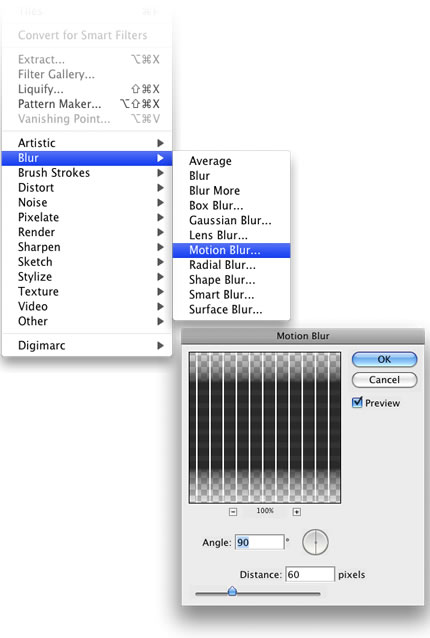
Go to Filter>Blur>Motion Blur. Use 90 degrees for the Angle and a distance of 60 pixels.
Step 4
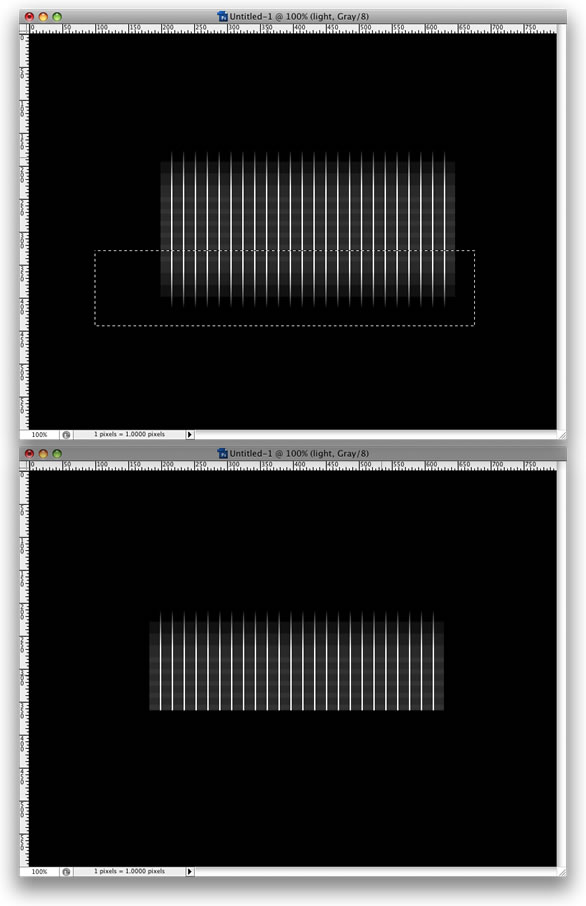
With the Rectangular Marquee Tool (M) select the bottom of the grid and delete it, so it won't have that faded- out look.
Step 5
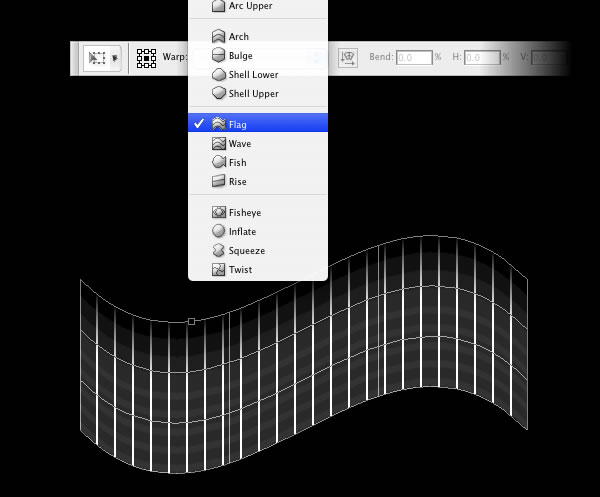
Go to Edit>Transform>Warp. Then select Flag.
Step 6
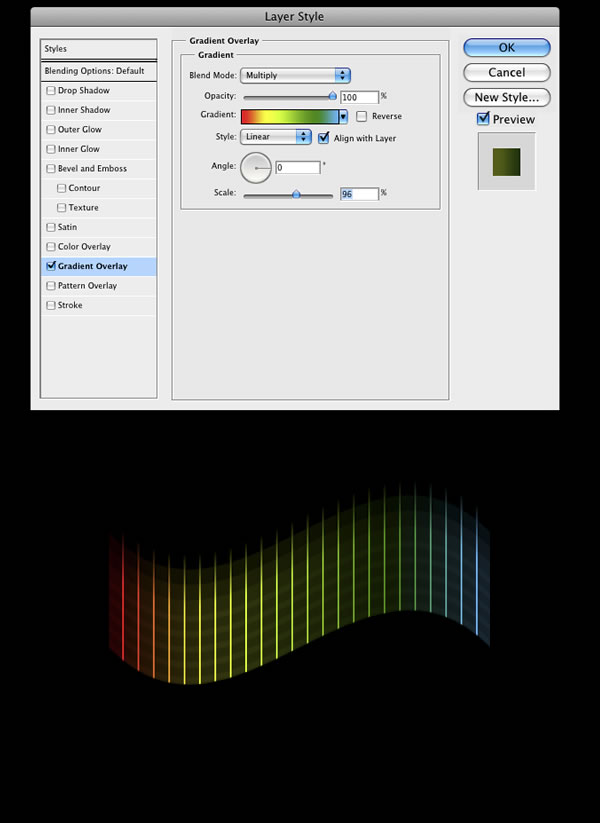
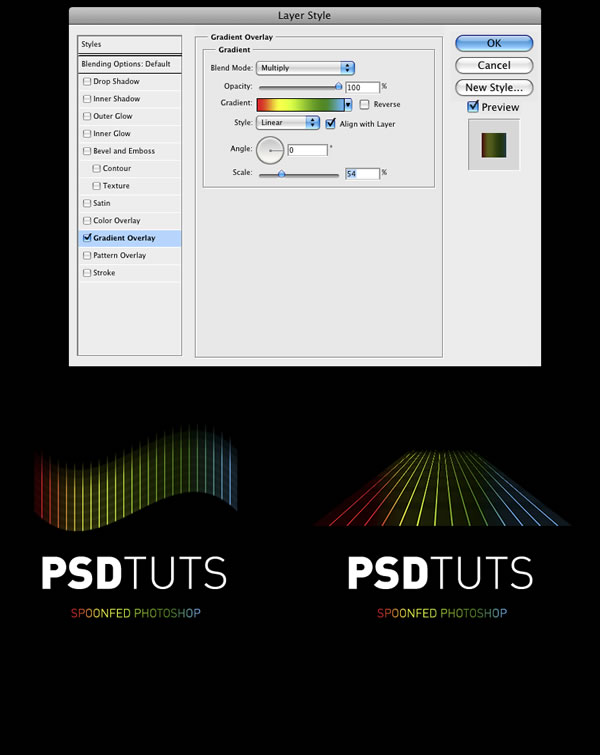
Double-click on the layer to open the Layer Style Dialog Box. Select the Gradient Overlay. Change the Blend Mode to Multiply and use Linear for the Style and 0 degree angle.
For the colors use red, yellow, green, and cyan.
Step 7
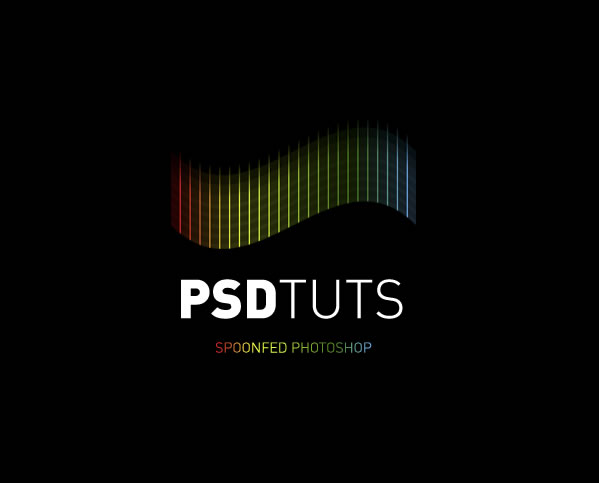
Add the text now and we have our first version of the logo.
Step 8
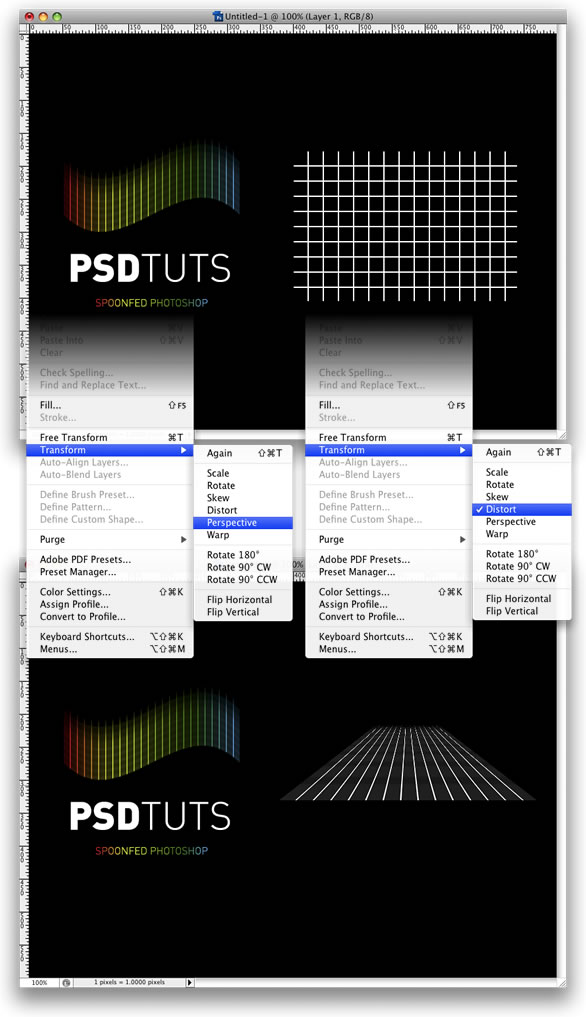
Repeat the Steps 1 to 4. Then instead of using Warp, let's use Perspective and Distort.
Start using Perspective. Move the vertices to the center and create the perspective. After that, select Distort just to make some adjustments.
Step 9
Repeat Step 6 again and add a Gradient Overlay to the symbol.
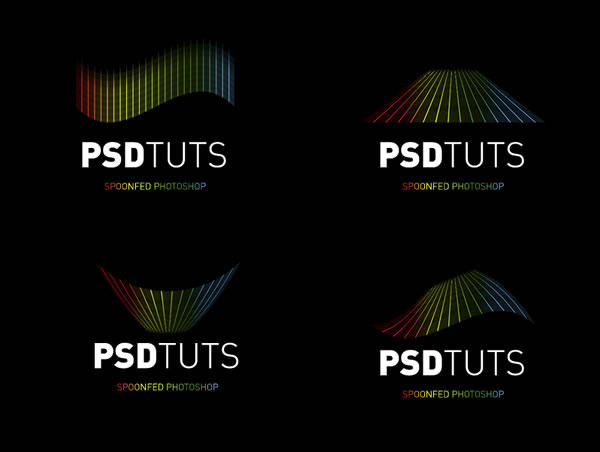
Step 10
With the grid in perspective, we can apply the warp again and test different styles, below I show some variations.
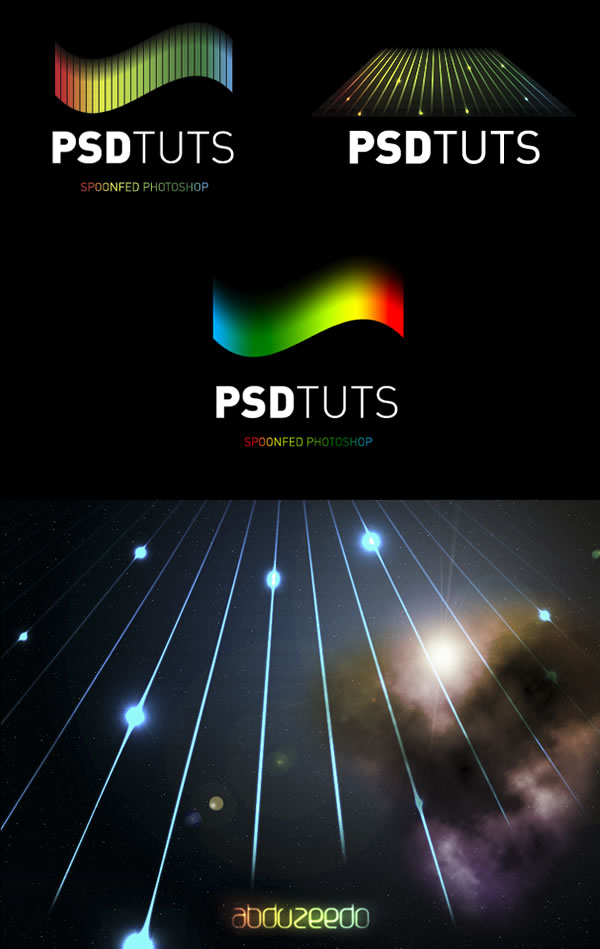
Conclusion
This is a very quick and at the same time very useful technique. You can use it to create grids. Below I show an example of a grid I've created using it. Also you can create the effect without the grid but only with the gradient. There are lots of possibilities. It's all about playing with the tools.
No comments:
Post a Comment